Introduction
I have been working on the hardware frontend for LICO recently. After much reflection, I decided to design my own pure hardware frontend. Compared to mobile apps, a pure hardware frontend is not affected by the strict background scheduling policies of the Android system and can directly control various hardware components, simplifying the control process. Standalone hardware is not without drawbacks—its power management is far inferior to modern smartphones—but my requirement is for always-online operation. In this scenario, the benefits of using more energy to provide services outweigh the disadvantages.
Mobile portable devices often have limited performance and cannot match the capabilities of smartphones, specifically in terms of the performance-power-functionality trilemma. After fully considering these factors, I decided to use the LVGL display/touch solution. LVGL is C-based, with very low performance overhead, and offers smooth, aesthetically pleasing UI with an excellent user experience. It pairs well with small boards like the Raspberry Pi Zero 2W, making it ideal for portable devices. LVGL officially maintains a Linux library that can be easily used on various Linux devices. Please refer to this link: lv_port_linux.
This article documents the process of installing and compiling LVGL on the Raspberry Pi Zero 2W, based on this project, and includes some targeted optimizations. (Primarily for my own reference, as there are many pitfalls to remember.)
The workflow I have summarized is roughly as follows: First, clone the repository and install the necessary dependencies. After verifying everything is correct, modify the basic settings to match your display. Then, compile the demo example using the default configuration file to confirm the basic operating conditions. Once feasibility is verified, modify the default configuration file, design and write your own LVGL UI, introduce relevant dependencies, use default fonts and icons, disable the compilation of the default demo, and test whether your program works. If it does, consider customizing fonts and icons, integrating them into the compilation, modifying configuration files, configuring frontend-backend communication logic, etc. Finally, perform optimizations: disable the cursor for touchscreen compatibility, turn off the test HUD information window, optimize frame rate and buffer frame configurations, implement burn-in prevention, etc. After a series of interaction and stability tests, deployment can be attempted.
This overall process is not conceptually complex, but it involves numerous details where a single misstep can affect other configurations, making it troublesome. Hence, this note serves as a reference for others as well. If anyone has a better workflow or solution, please feel free to share.
LVGL Installation and Compilation
Basic Preparations
First, my hardware specifications are as follows:
-
Raspberry Pi Zero 2W, Raspbian GNU/Linux 12 (Bookworm). I am using the official 32-bit Lite OS, which is not a desktop version, so we need to install drivers ourselves later.
-
An HDMI touch display with a resolution of 800x480. Touch signals are transmitted via USB using the EVDEV protocol for touch event feedback.
Prepare to install the relevant dependencies:
# 1. Update the system package list and installed software
sudo apt update && sudo apt upgrade -y
# 2. Install core dependencies required for compilation
# - git: Used to download the LVGL project
# - build-essential: Includes gcc/g++ compilers and make
# - cmake: The build system for our C project
# - libevdev-dev: Library required for evdev (touchscreen) drivers
sudo apt install git build-essential cmake libevdev-dev -y
Then, connect the display and the USB for touch (which also provides power), and reboot:
sudo reboot
Normally, you should see the Raspberry Pi output boot logs quickly, and then display the default login TTY page.
Next, verify if the touchscreen hardware is recognized:
# This is an example of a successful lsusb output
lico@raspberrypi:~ $ lsusb
# This is my touchscreen (capacitive touchscreen CTP)
Bus 001 Device 010: ID 1a46:e5e3 QinHeng Electronics USB2IIC_CTP_CONTROL
# This is my Hub
Bus 001 Device 008: ID 1a38:0101 Terminus Technology Inc. Hub
# This is the Raspberry Pi itself
Bus 001 Device 001: ID 1d6b:0252 Linux Foundation 2.0 root hub
If it is not recognized, it could be due to insufficient power supply or an incorrect data cable. Please resolve this issue on your own…
Configuring Hardware Permissions
Once the hardware is recognized, our C program (lvglsim) requires permissions to read and write these hardware devices.
-
Add User Groups:
-
videogroup: Allows access to the Framebuffer (/dev/fb0). -
inputgroup: Allows access to input devices (/dev/input/event*).
-
sudo usermod -a -G video $USER
sudo usermod -a -G input $USER
-
Apply the permissions:
You must completely log out and log back in (or simply reboot with sudo reboot) for the new group permissions to take effect.
-
Verify permissions:
After logging back in, run the id command to ensure video and input appear in the groups= list.
lico@raspberrypi:~ $ id
# Output should resemble:
# uid=1000(raspi) ... groups=... 44(video), ... 108(input) ...
Downloading and Compiling the LVGL C Project
If you haven’t installed Git, please install it first.
Then:
# 1. Return to the home directory
cd ~

# 2. Clone the project
git clone https://github.com/lvgl/lv_port_linux.git

# 3. Enter the project directory
cd lv_port_linux

# 4. Initialize and pull the LVGL core library (submodules will include LVGL; this may take a while)
#    The automatically installed latest LVGL version here is 9.4
git submodule update --init --recursive

# 5. Configure CMake (critical step)
#    -B build: Specifies the build directory as 'build'
#    -DCONFIG=default: Tells CMake to use the default configuration in the root directory, which is fbdev by default
cmake -B build -DCONFIG=default

# 6. Execute the compilation (using all CPU cores)
cd build
#    If your development board has weak performance, you can set the number of CPUs used as needed, and it is recommended to configure SWAP
make -j$(nproc)
Running the Official Demo and Touch Interaction
-
Identify the touchscreen device number:
lsusb tells us the touchscreen exists, and evtest tells us which file it is.
# Test each event device one by one; sliding your finger will output a lot of information
sudo evtest /dev/input/event0
# (Press Ctrl+C to exit, then try event1, event2...)
sudo evtest /dev/input/event2
When you touch the screen, if the terminal floods with
EV_ABS/ABS_X/ABS_Ydata, it means we have found the corresponding device. -
Run the program:
Use the environment variable LV_LINUX_EVDEV_POINTER_DEVICE to specify your touchscreen.
# Assuming your touchscreen is /dev/input/event0
LV_LINUX_EVDEV_POINTER_DEVICE=/dev/input/event0 ./bin/lvglsim
At this point, we should see the official Demo and be able to operate it with touch.
Writing Your Own UI Code
The lv_port_linux project has a src folder in the root directory. We can write our own code in this folder and modify the existing main.c to use our own defined functions:
-
Add
#include "src/my_ui.h"at the top. -
Locate the section in the
mainfunction that calls the Demo:/*Create a Demo*/ lv_demo_widgets(); lv_demo_widgets_start_slideshow(); -
Replace it with your function:
/*Create our own UI*/
create_my_ui();
Using Your Own Fonts
LVGL’s default fonts have good support for English but poor support for Chinese. We need to create our own fonts. Here, I use Noto Sans SC as the font source file, and then use the official Font Converter tool to generate the fonts we need to convert.
I use the Regular font, set Bpp to 1, and output format to C File. C files are the fastest and integrate better. You can also choose to compile them into external binary bin fonts, which avoids subsequent font compilation but may load slightly slower externally.
For the Fallback option, this is for font inheritance. When Chinese content includes English characters, setting font inheritance can effectively prevent display issues. This depends on your English font name. For example:
If you plan to name your Chinese font lico_16_zh (where 16 is the font size), you can name your corresponding English font lico_16_en. Then, when generating the Chinese font, fill in lico_16_en in the Fallback field. This configures font inheritance, and you will get separate lico_16_en.c and lico_16_zh.c files. Follow this process to generate all the font sizes you need, such as 16, 18, 20, 24, etc. Then, you can place these in your src folder, create a new font folder, and write a font_manager.c file to include your fonts. Alternatively, you can manage them directly in main.c, but this is not recommended.
At this point, if we do not modify CMakeLists.txt, we still need to repeat the previous steps—fully compiling the entire project, including the LVGL demo, which is not elegant. Therefore, we need to deeply optimize the project’s configuration files to develop our UI elegantly.
Project Optimization
Since we have introduced new files in the src folder, we need to modify the root directory’s CMakeLists.txt and other configuration files to ensure proper compilation and implement relevant optimizations.
Creating a Sub-CMakeLists.txt
Briefly summarizing the approach: We will add an independent CMake subdirectory within the existing project to package your custom UI and font source code. The key parts of the directory structure are as follows (only listing segments relevant to this adjustment):
The top-level CMakeLists.txt will first add_subdirectory(lvgl), then add_subdirectory(src/my_app), and finally, in add_executable(lvglsim …), only retain main.c and the underlying driver source code, linking the my_app static library. This way, in the future, whenever new page or font .c files are added to ui or fonts, re-running cmake -B build … will automatically include these files in the library without needing to modify the top-level CMakeLists.txt again.
Here is a file tree example for reference:
src
├── fonts
│   ├── myfont_16.c
│   ├── myfont_18.c
│   ├── myfont_24.c
│   ├── myfont_30.c
│   ├── myfont_32.c
│   ├── myfont_en_16.c
│   ├── myfont_en_18.c
│   ├── myfont_en_24.c
│   ├── myfont_en_30.c
│   └── myfont_en_32.c
├── lib
│   ├── cjson/
│   ├── display_backends/
│   ├── indev_backends/
│   ├── ipc/
│   ├── backends.h
│   ├── driver_backends.c
│   ├── driver_backends.h
│   ├── gpio_button.c
│   ├── gpio_button.h
│   ├── mouse_cursor_icon.c
│   ├── simulator_settings.h
│   ├── simulator_util.c
│   └── simulator_util.h
├── my_app
│   └── CMakeLists.txt
├── ui
│   ├── font_manager.c
│   ├── font_manager.h
│   ├── my_ui.c
│   ├── my_ui.h
│   ├── page_about.c
│   ├── page_home.c
│   ├── page_settings.c
│   ├── pages.c
│   └── pages.h
└── main.c
Then, we edit our own CMakeLists.txt:
# Collect custom application sources (UI pages, fonts, etc.)
# The CONFIGURE_DEPENDS flag lets CMake pick up new files on the next configure run.
file(GLOB MY_APP_SOURCES
    CONFIGURE_DEPENDS
    "${CMAKE_SOURCE_DIR}/src/ui/*.c"
    "${CMAKE_SOURCE_DIR}/src/fonts/*.c"
)

if(NOT MY_APP_SOURCES)
    message(WARNING "No sources found for my_app library. Check the glob patterns.")
endif()

add_library(my_app STATIC ${MY_APP_SOURCES})

# Expose include directories so other targets can include the UI headers without extra setup.
target_include_directories(my_app PUBLIC
    "${CMAKE_SOURCE_DIR}"
    "${CMAKE_SOURCE_DIR}/src/ui"
    "${CMAKE_SOURCE_DIR}/src/fonts"
)

target_link_libraries(my_app PUBLIC lvgl)
Then, we modify the root directory’s CMakeLists.txt:
add_subdirectory(lvgl)
# Add the following to set up the subdirectory:
add_subdirectory(src/my_app)
# Modify the executable and custom library directories to look like this:
add_executable(lvglsim
    src/main.c
    ${LV_LINUX_SRC}
    ${LV_LINUX_BACKEND_SRC}
)
target_link_libraries(lvglsim my_app lvgl_linux lvgl)
Frame Rate Optimization
At this point, the optimization of CMakeLists.txt is not yet complete. LVGL’s default frame rate is 33 fps full frame, which is likely insufficient by 5202 standards—at least 60 fps is necessary. We will use custom macros.
Here, we need to explain the mechanism: the lv_port_linux project uses configuration files to pre-generate configurations for LVGL. Remember the command we used to compile the demo initially? We used cmake -B build -DCONFIG=default, which uses the lv_conf.defaults file in the root directory. Theoretically, there are more files in the config folder for different drivers, which you can modify, but remember to use the corresponding configuration file during pre-compilation.
We will simply modify some configurations in lv_conf.defaults to disable the compilation of the demo and other default library files, while also changing the default frame rate to 60 fps. Then, we will set custom macros in CMakeLists.txt to apply these configurations.
In lv_conf.defaults, set these to 0 to disable demo compilation:
# Examples
LV_BUILD_EXAMPLES 0

# Demos
LV_BUILD_DEMOS 0
LV_USE_DEMO_WIDGETS         0
LV_USE_DEMO_KEYPAD_AND_ENCODER 0
LV_USE_DEMO_BENCHMARK       0
LV_USE_DEMO_RENDER          0
LV_USE_DEMO_STRESS          0
LV_USE_DEMO_MUSIC           0
Additionally, here are performance tuning configurations for lv_conf.h:
// Refresh period (ms)
#define LV_DEF_REFR_PERIOD 16  // ~60 FPS

// Double buffering
#define LV_LINUX_FBDEV_BUFFER_COUNT 2
#define LV_LINUX_FBDEV_BUFFER_SIZE 60

// Render mode
#define LV_LINUX_FBDEV_RENDER_MODE LV_DISPLAY_RENDER_MODE_PARTIAL

// Multi-threaded rendering (recommended for Raspberry Pi 4)
#define LV_USE_OS LV_OS_PTHREAD
#define LV_DRAW_SW_DRAW_UNIT_CNT 2
Then, modify the root directory’s CMakeLists.txt:
# First, find this line
message(STATUS "${LV_BUILD_CONF_PATH} generated successfully")
# Then insert our custom macros after it

# --- (Start) Insert custom macros into the specified location in lv_conf.h ---

# 1. Define the text we want to insert

set(CUSTOM_MACROS "/* --- Custom macros automatically inserted by CMake --- */#define LV_DEF_TIMER_PERIOD 16#define LV_DISP_DEF_REFR_PERIOD 16/* --- End of custom macros --- */")

# 2. Read the entire content of the newly generated lv_conf.h file

file(READ ${LV_BUILD_CONF_PATH} CONF_CONTENT)

# 3. Find the line #define LV_CONF_H and insert our text after it

# We use \n to ensure it breaks to a new line

string(REPLACE "#define LV_CONF_H" "#define LV_CONF_H\n${CUSTOM_MACROS}" MODIFIED_CONF_CONTENT "${CONF_CONTENT}")

# 4. Write the modified content back to lv_conf.h, overwriting the original file

file(WRITE ${LV_BUILD_CONF_PATH} "${MODIFIED_CONF_CONTENT}")

# --- (End) Insert custom macros ---
Ah, it’s really troublesome, but we are about to succeed…
Now, try a full compilation of our new project:
cmake -B build -DCONFIG=default
cd build
make -j$(nproc)
If there are no errors, run it to test:
# Assuming your touchscreen is /dev/input/event0
LV_LINUX_EVDEV_POINTER_DEVICE=/dev/input/event0 ./bin/lvglsim
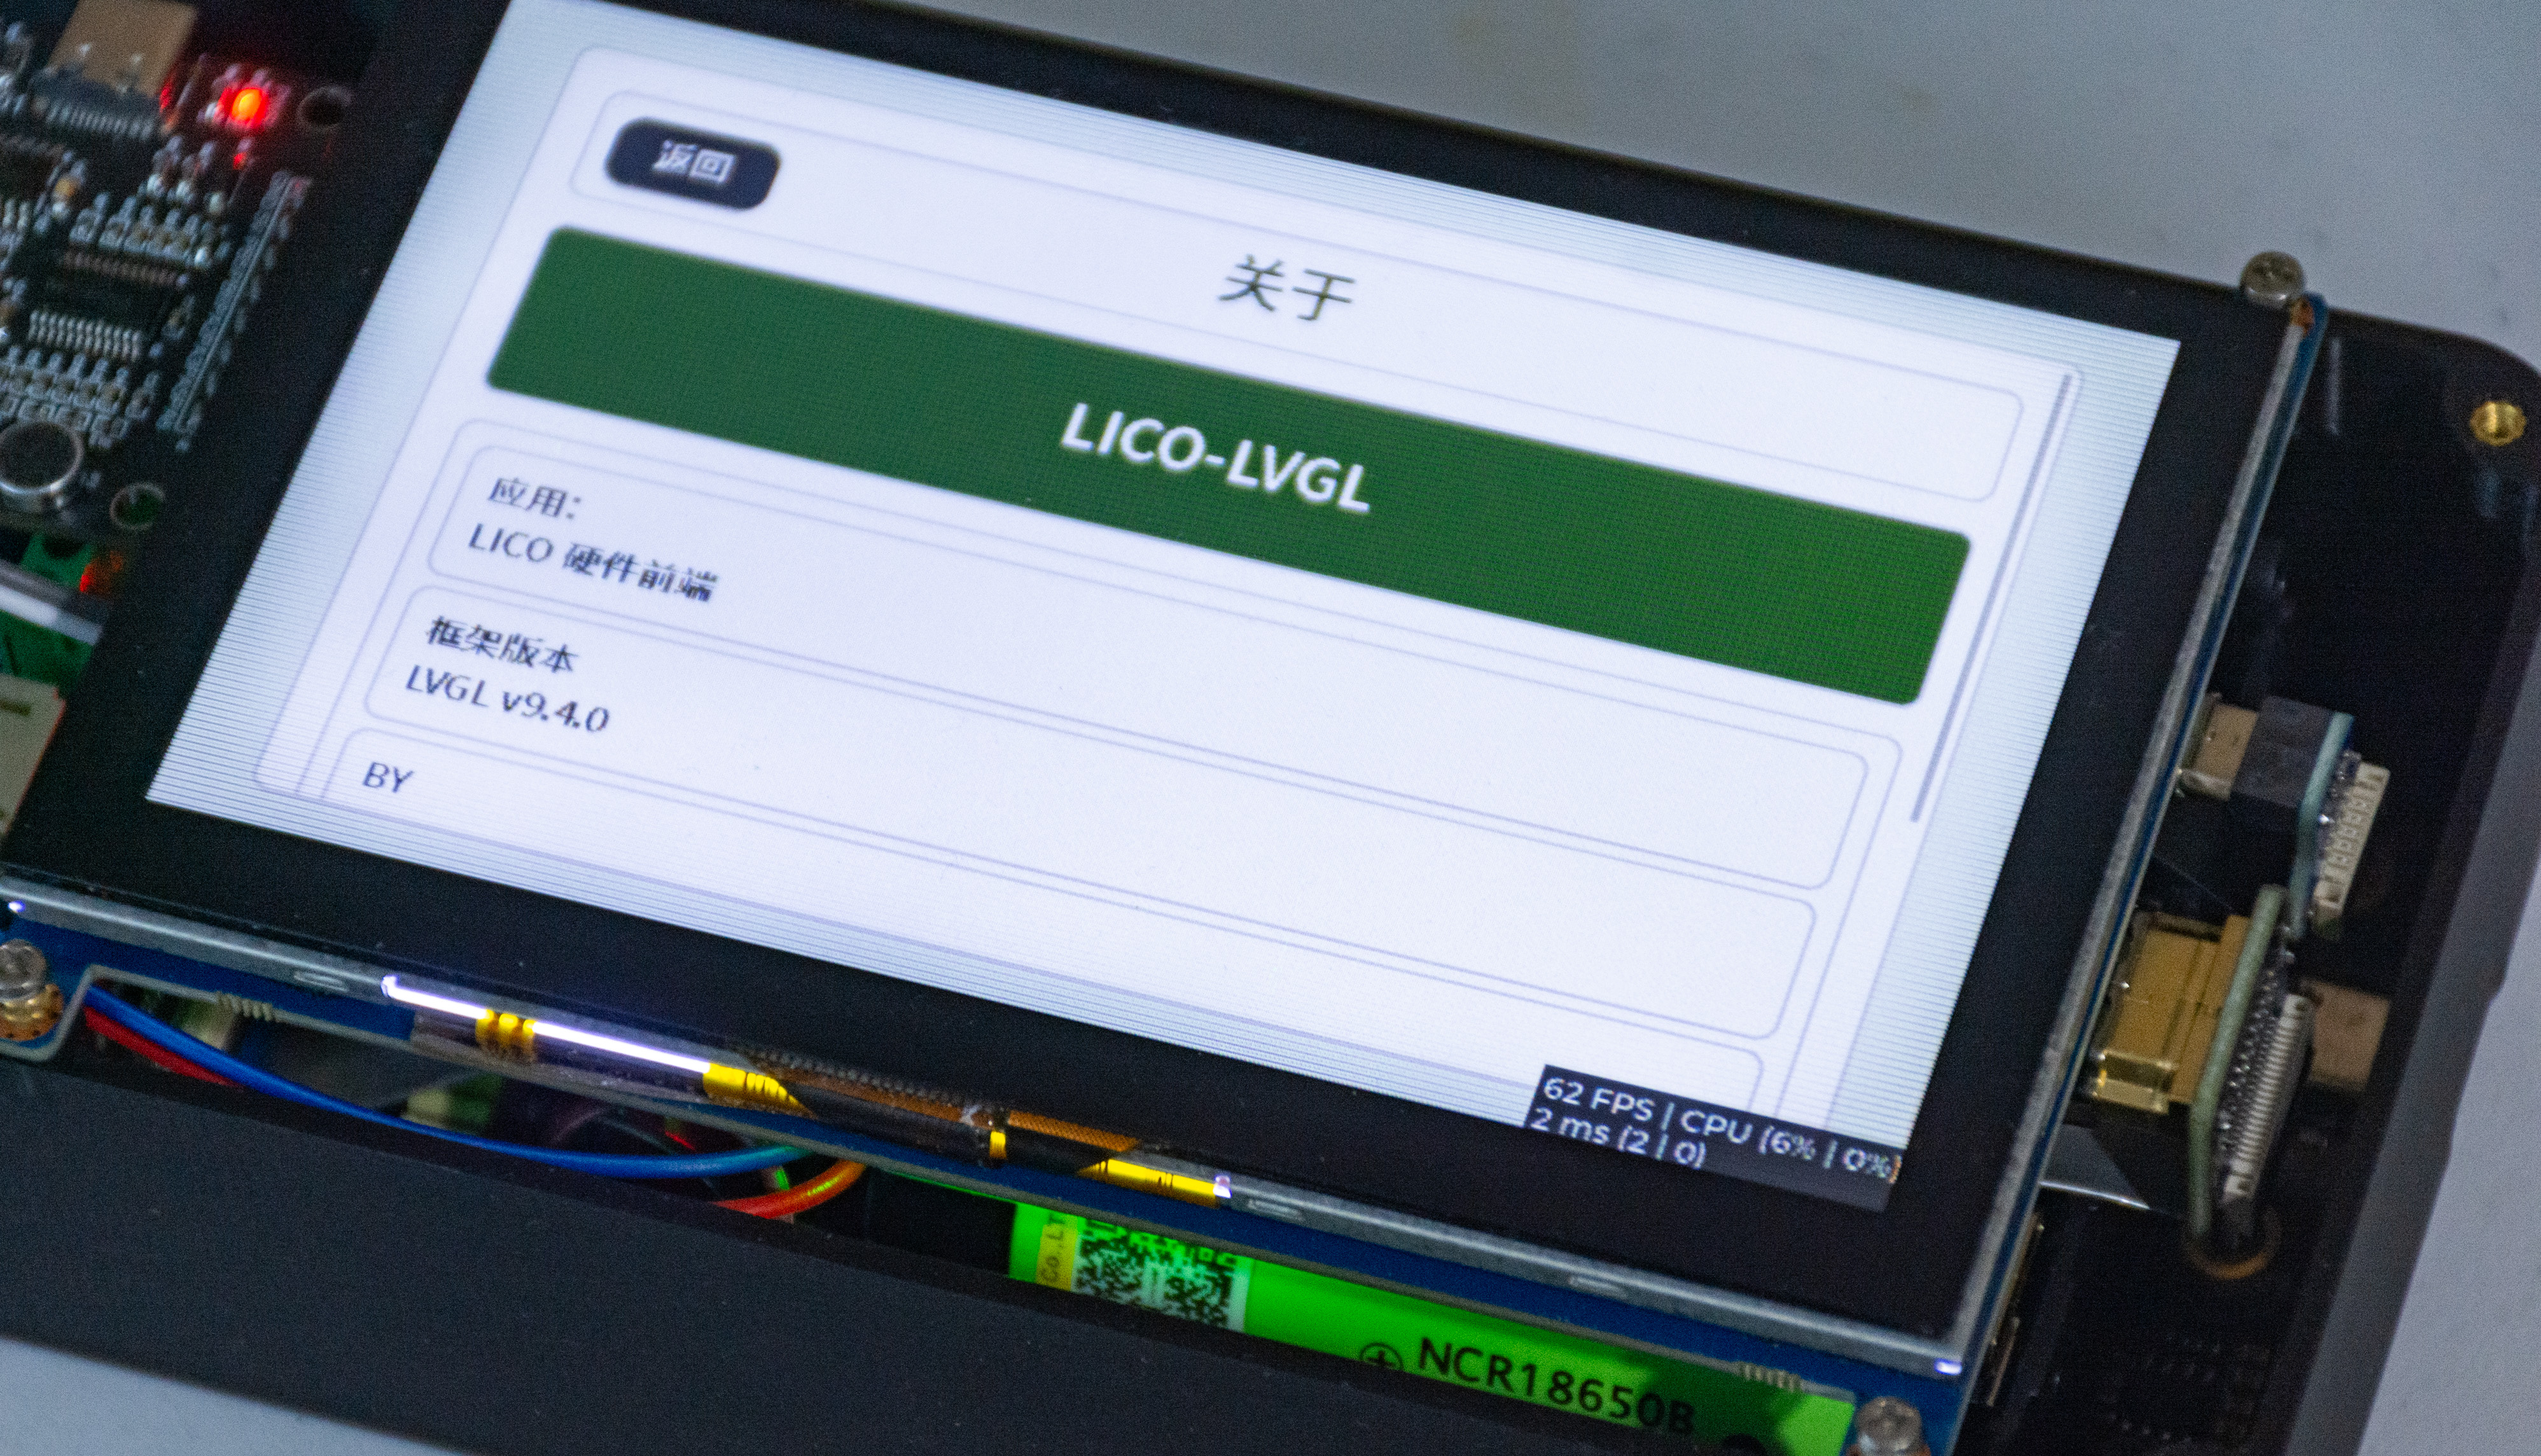
Theoretically, you should see the small window in the lower right corner running at 60 fps. In this case, except for font modifications requiring a full recompilation, everything else will be incremental compilation, avoiding the need for full recompilation.
Well, the UI is smooth, the touchscreen is responsive, and it’s worth all the effort…
Burn-in Prevention Fix
The framebuffer mechanism is interesting; it is occupied by the system’s default TTY by default. If LVGL is added on top of this, it can cause display overlay and eventually burn-in over time. Although this can be resolved by turning off the display, optimization is still preferable. Let’s also disable the cursor:
First, relocate the TTY service:
# Stop the login service for tty1
sudo systemctl stop [email protected]
sudo systemctl disable [email protected]

# Enable tty2
sudo systemctl enable [email protected]
sudo systemctl start [email protected]
This way, boot logs will still output to HDMI, and the system remains debuggable.
Then, permanently disable the terminal cursor:
# Temporarily disable
sudo sh -c 'TERM=linux setterm -cursor off > /dev/tty0'

# Permanently disable (add to startup script)
sudo nano /etc/rc.local
Add before exit 0:
# Disable terminal cursor
TERM=linux setterm -cursor off > /dev/tty0
Then reboot:
sudo reboot
At this point, our new LVGL project is basically configured and optimized. Further optimizations include: disabling the lower-right HUD information window, customizing icons, implementing non-linear animations, systemctl deployment, UDS/IPC inter-process communication, etc. Please explore these on your own. 73!